Why We Need to Cut a Parcel in CAD?
Cutting parcels in CAD drawings is vital for several reasons. To begin with, it enables the creation of smaller plots for residential, commercial, or industrial use. Moreover, it simplifies land sales by clearly marking boundaries for various owners. Also, zoning ensures that land divisions align with local laws and standards. Besides this, infrastructure planning benefits from parcel divisions by providing designated areas for roads, utilities, and public spaces. In agriculture, dividing land helps manage different crops, livestock, and farming activities more effectively. Additionally, legal and financial needs, such as settling estates and tax considerations, often require accurate parcel divisions. Utilizing SPCAD’s Quick Division tool makes these tasks simpler and more precise.

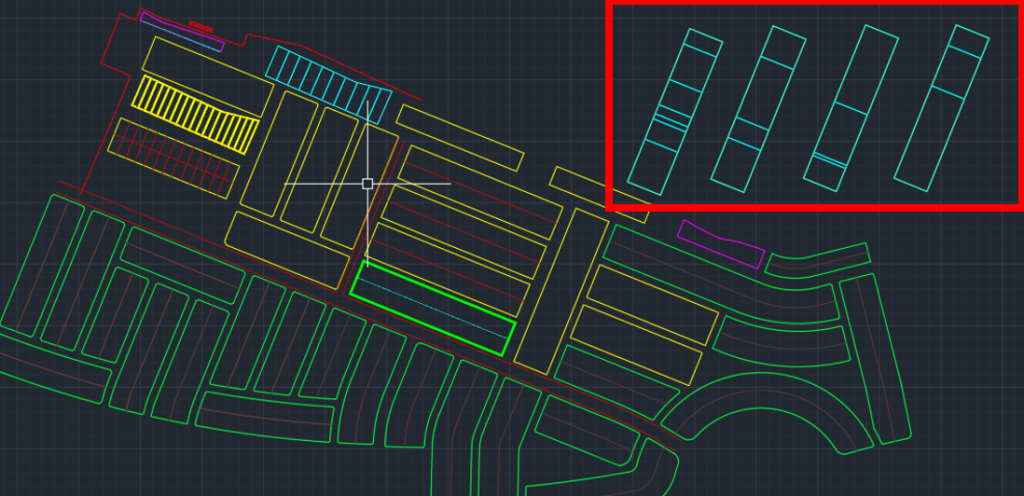
In the cadaster panel of SPCAD, we have a tool called Quick Division that allows you to divide a parcel in various ways with just one click. One of them is Divide by Number of Divisions.
The Efficiency of SPCAD’s Quick Division Tool
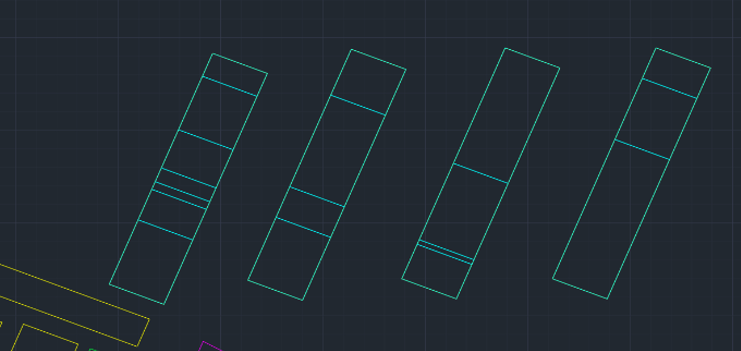
Quick Division tools function as versatile polygon-cutting instruments. They divide the closed polyline into sub-closed polylines based on four criteria, all without the need for a pre-drawn cutting edge. The polygon can be divided into parts with pre-determined areas (DVA_SP), with any remaining area accommodated at the trailing side of the closed polyline. Alternatively, it can be divided into parts by specifying the percentage (DVP_SP) or into a given number (n) of equal parts (DVN_SP).

How to Cut a Polygon Using Quick Division
1. Select the Lot Polygon: First, choose the lot polygon you need to divide. This lets the software know which area to work with.
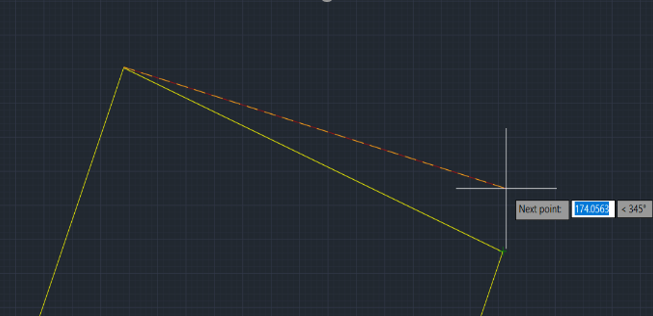
2. Select the Start Point: Then, click on the point where you want the division to begin. This point serves as the starting reference for the division.
3. Select the End Point: Finally, click on the point where you want the division to end. This step helps define the direction and boundaries of the divided sections
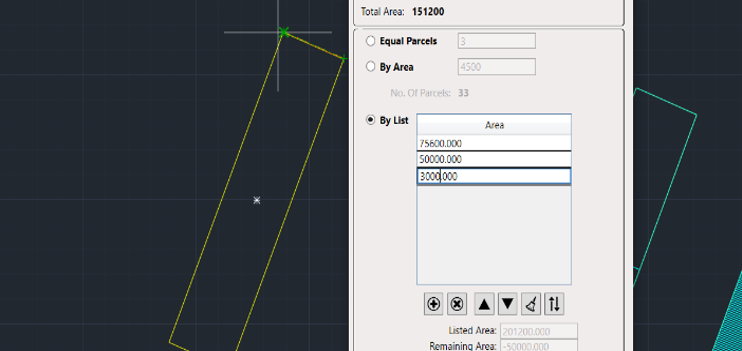
4. Enter the Required Area by List: Next, input the different customized areas for the division. This step ensures your polygon is divided according to the specified sizes.

For more detailed information on SPCAD tools, visit our website or Youtube channel.